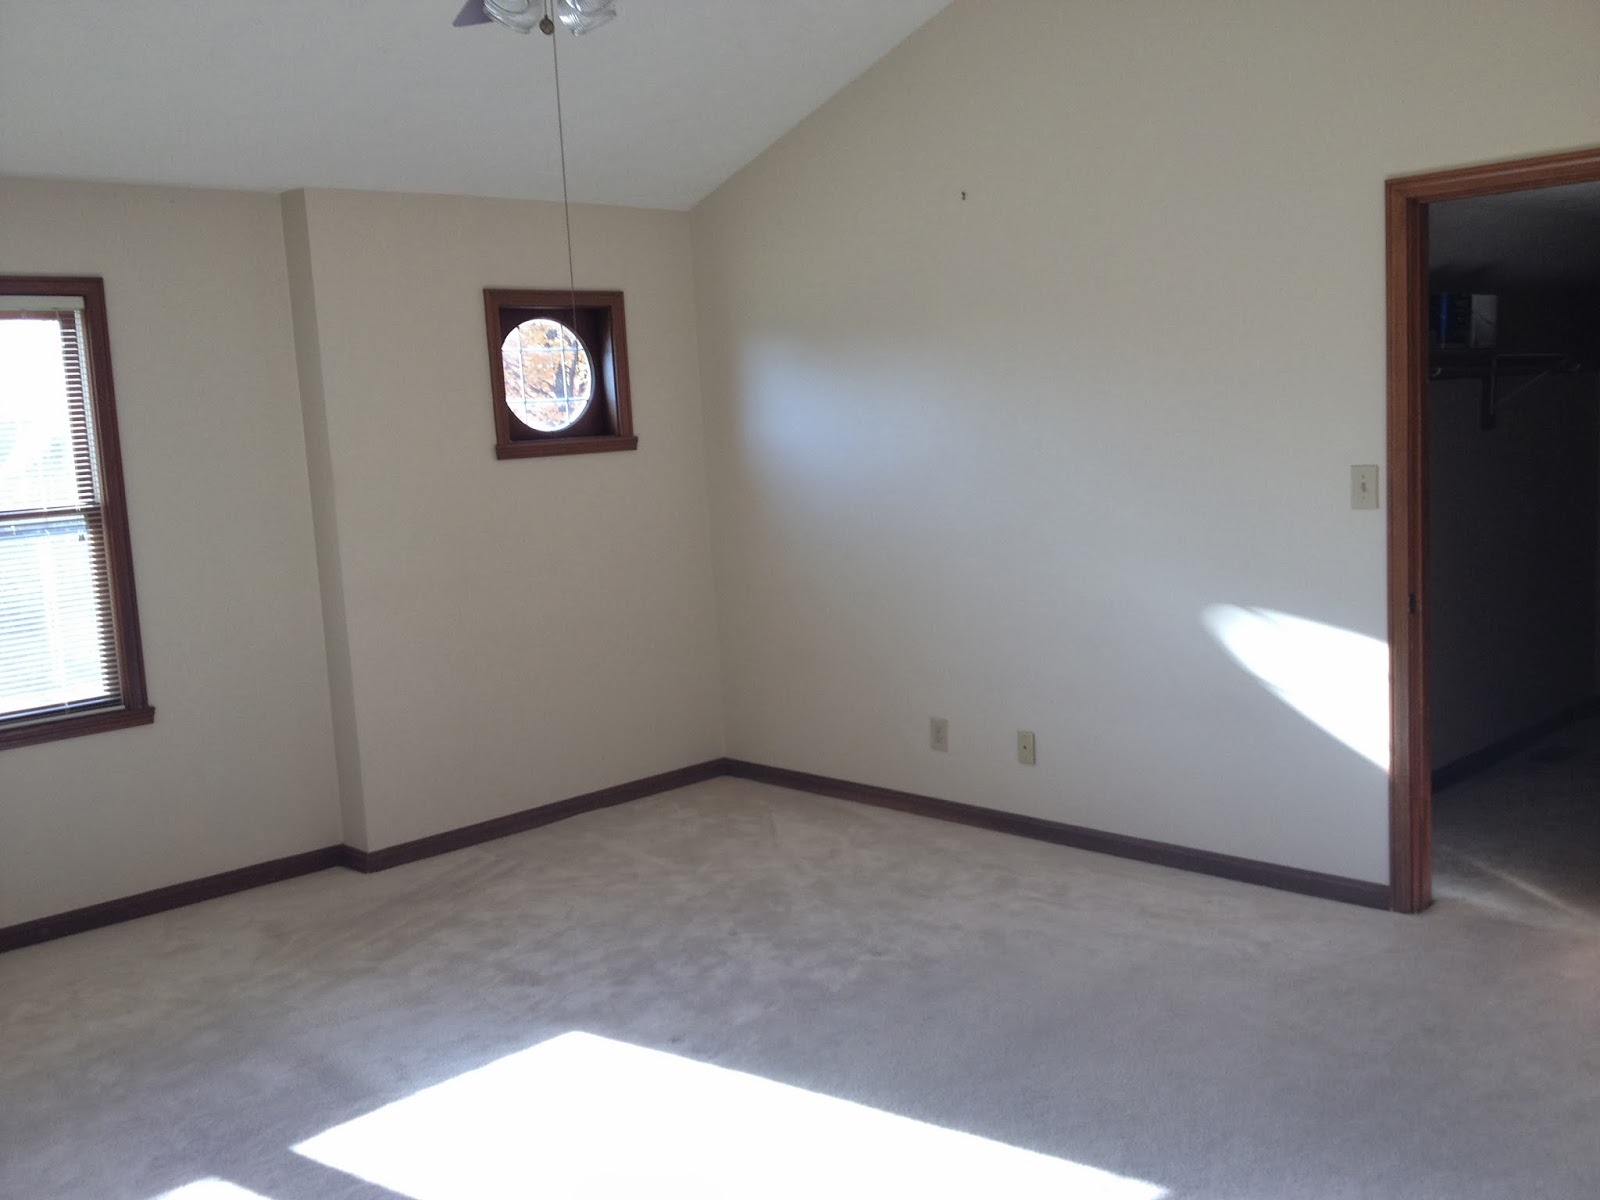
We started our renovations in the Master Bedroom. The Bedroom is a giant room ... almost too big. It has vaulted ceiling that add to an open and airy feel. We knew we wanted to paint the dull, damaged wood trim, paint the walls and tear up the carpet and install dark wood laminate floors ... but we felt like the room seemed too large and kind of boring. Our bedroom furniture is low profile, and we didn't want it too seem dwarfed by the high ceilings.
To remedy this problem we had to think outside the box a little. We had the idea to add some type of molding or trim work to the wall behind the bed. I saw a photo on Pinterest of horizontal wood molding on a wall, and we agreed this horizontal molding would not only help ground the room but it would complement our contemporary furnishings, in essence work as a headboard ... so we put our heads together and came up with a plan!
Here is the inspiration photo:
First we had to determine what material we could use to create our desired look. Luckily Lowes had the perfect 2" wide by 8' long primed pieces of wood.
We then used a stud finder and marked each stud in the wall.
We decided to space each piece of horizontal wood 16" a part - we picked this width because we liked the look of it. We then cut a piece of wood to 16" to use as a template spacer for installation.
You need access to a chop saw and nail gun in order to cut and install the pieces. With the use of the template, the installation actually went pretty quick ... we set the template in place, lined up the wood molding, leveled it and nailed it.
We painted the walls and the wood white to finish it off. It really pops against the dark floors and the newly painted trim!
The result is a unique architectural feature wall that adds visual interest to a previously plain, boring room! It is everything we hoped it would be and more ... comfortable, casual, bright and cheery!
We then used a stud finder and marked each stud in the wall.
We decided to space each piece of horizontal wood 16" a part - we picked this width because we liked the look of it. We then cut a piece of wood to 16" to use as a template spacer for installation.
You need access to a chop saw and nail gun in order to cut and install the pieces. With the use of the template, the installation actually went pretty quick ... we set the template in place, lined up the wood molding, leveled it and nailed it.
The result is a unique architectural feature wall that adds visual interest to a previously plain, boring room! It is everything we hoped it would be and more ... comfortable, casual, bright and cheery!


No comments:
Post a Comment